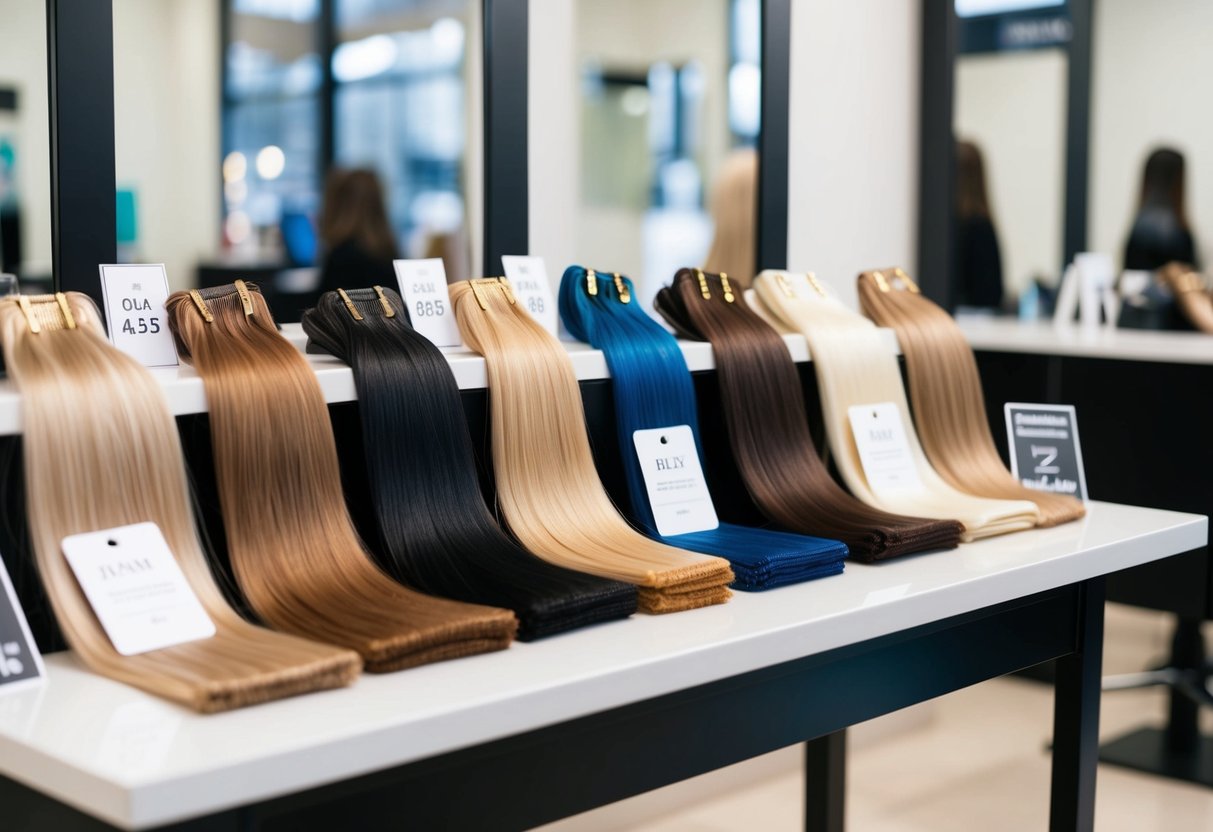
How to Install Sew-In Hair Extensions: A Comprehensive Guide
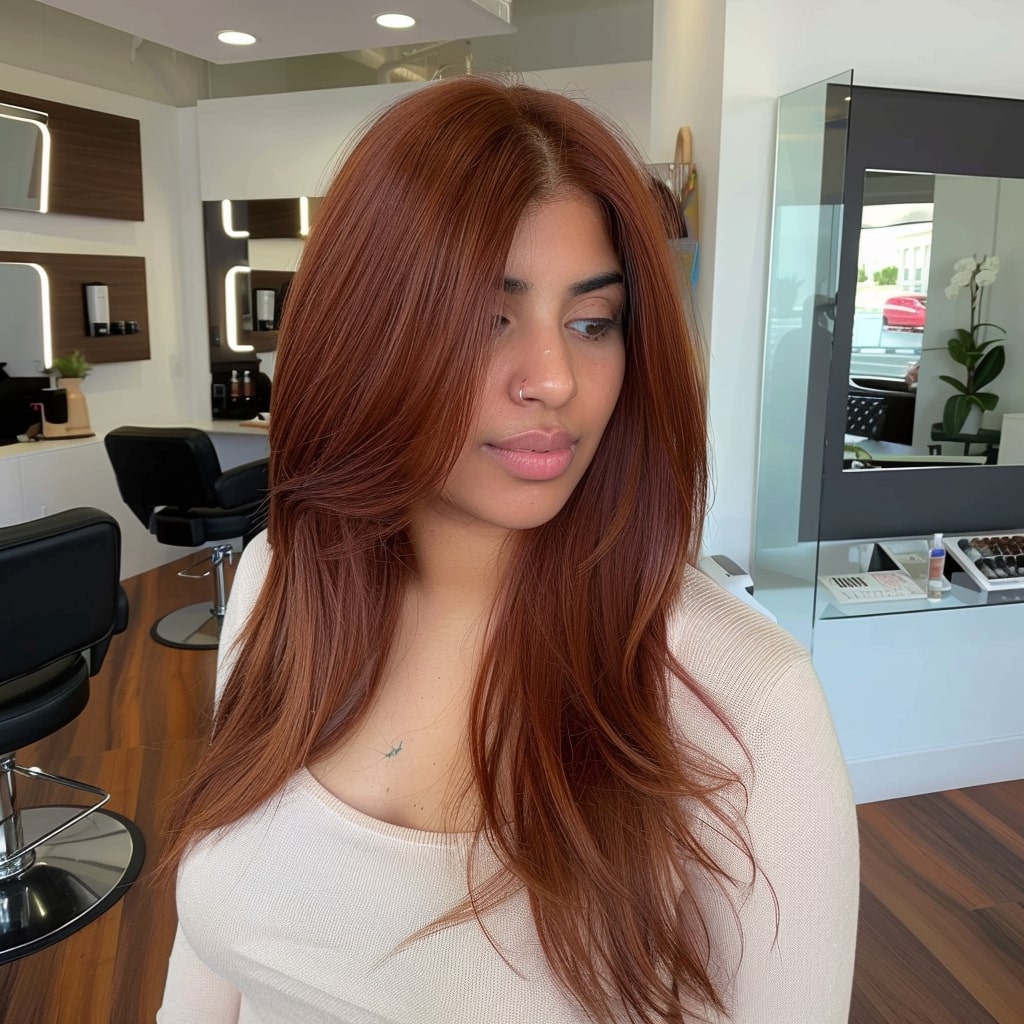
Transforming your look with sew-in hair extensions opens up endless possibilities for style. Not only do these extensions allow you to add length and volume to your hair, but they can also refresh your appearance with minimal effort. Installing sew-in hair extensions involves preparing your natural hair, selecting the right extensions from trusted brands like Tara Hair or Sam Conan from USAHair.com, and weaving them in securely.
USAHair.com offers a wide range of high-quality hair extensions at affordable prices, catering to diverse preferences. These extensions come in various categories, including synthetic, real human hair, premium remy, and European hair. The lengths range from 14 inches to 28 inches, and you can choose from over 50 colors, ensuring a perfect match for your natural hair. With free shipping and returns, along with personalized color recommendations, getting the right extensions has never been easier.
Learning to install sew-in hair extensions properly ensures they enhance your beauty while lasting longer. From correctly parting and sectioning your hair to perfecting the stitching techniques, understanding each step is crucial. Consider consulting with a professional for the best results, or follow a detailed guide for a flawless home installation.
Key Takeaways
- Choose from a variety of extension options for length, color, and quality.
- Proper preparation and installation techniques are essential for a lasting look.
- Professional consultation can enhance results.
Understanding Sew-In Hair Extensions
Sew-in hair extensions provide a semi-permanent solution for those looking to add length or volume to their natural hair. They are ideal for various hair textures and come with a unique set of benefits and challenges.
Types and Varieties
Sew-in hair extensions come in several types, including synthetic hair and real human hair. The Tara Hair, Quality Hair, and Sam Conan brands offered by USAHair.com are known for their extensive variety.
You can choose from virgin hair extensions, which have no chemical treatment, or premium Remy hair, noted for its natural look and lasting quality. Extensions are available in a range of lengths from 14 inches to 28 inches, and over 50 shades, such as black, brown, blonde, ombre, and highlighted. These options make it easy to find the perfect match for your style.
Pros and Cons
The process of sewing in hair extensions is generally less damaging than some other methods as it doesn't involve heat or glue. This method can last up to two months with proper care, offering a long-lasting natural appearance. Brands from USAHair.com are reviewed as top-quality yet affordable, with the added benefit of free shipping and returns.
There are also potential drawbacks. Sew-ins require tight braiding, which can lead to hair breakage and scalp discomfort if not done carefully. Maintenance includes regular washing and conditioning to prevent tangling and matting. Synthetic hair might not blend as seamlessly or withstand styling techniques as well as human hair.
Suitable Hair Textures
Sew-in hair extensions work best with medium to thick hair textures. They provide excellent volume for individuals with thicker hair. However, those with fine or thin hair might experience tension at the roots, which could lead to damage over time. This method is particularly effective for curly hair, as it adds fullness while blending naturally with curls.USA Hair tailors recommendations to match your individual needs; plus, using a selfie can help you find the best fit and color with expert advice. Whether you prefer a temporary option or something more long-lasting, considering the right texture compatibility is key to achieving the perfect look.
Preparing for Installation
Before installing sew-in hair extensions, proper preparation is vital. You'll explore selecting suitable extensions, gathering necessary tools, and preparing your hair and scalp.
Selecting the Right Extensions
When choosing hair extensions, ensure you select high-quality options suited to your natural hair. USAHair.com offers an excellent variety of extensions, available in real human hair and synthetic options. Consider the type of hair you want: Tara Hair, Quality Hair, or Sam Conan.
You'll find extensions in different lengths, such as 14 inches, 18 inches, 22 inches, and 28 inches. Available in over 50 colors, including black, brown, blonde, ombre, and highlighted, you can effortlessly find the perfect match for your style. USAHair.com provides free shipping and returns, along with affordable color swatches to assist in decision-making. Personalized recommendations are available if you email a selfie to their support team.
Required Tools and Materials
Having the right tools and materials ensures a seamless sew-in installation. Essential tools include a curved needle, strong thread, wide-toothed comb, and rat tail comb. A curved needle is specifically designed for sewing extensions and allows easier navigation through hair sections. Choose a color of thread that closely matches your hair color for a natural look.
Wefts of hair are sewn into a foundation, so clean cornrows or braids are required. Additionally, you can use a shampoo and conditioner to properly prepare the base for installation. Consider gathering quality materials, as the durability of your sew-in extensions significantly depends on them.
Hair and Scalp Preparation
Preparing your hair and scalp is crucial for a secure and comfortable install. Begin by thoroughly washing your hair with a gentle shampoo and conditioner. Clean hair ensures a better grip for the extensions, creating a longer-lasting hold. Make sure your hair is completely dry before proceeding, as wet hair can lead to discomfort and poor results.
Use a wide-toothed comb to detangle your hair carefully, preventing knots and breaking. Create neat, even cornrows or braids using a rat tail comb. These braids will act as the foundation for the sew-in extensions. Ensure the braids are snug but not overly tight to avoid stress on the scalp. Proper preparation will help achieve a flawless installation.
Installation Process
Installing sew-in hair extensions involves creating a stable foundation, carefully sewing the wefts, and ensuring a seamless finish. Using high-quality hair, like those from USAHair.com, can enhance the overall result.
Creating the Foundation
Begin by detangling your hair with a wide-tooth comb. Dry hair thoroughly before creating the cornrows. Part your hair horizontally from ear to ear, making sure each section is even.
Cornrows act as the base where the extensions are attached. Braid the cornrows tightly along your scalp to ensure a secure base. The neatness and tightness of these braids are key to a successful installation.
A stable foundation is crucial for the longevity of the extensions.
Sewing the Wefts
Once the cornrows are complete, it's time to sew the wefts. Use a curved needle and strong thread to attach the wefts onto the braids.
Start by anchoring the weft at one end of the cornrow. Sew through the weft and braid, making sure that the stitches are tight to keep them secure. Frequently check that the weft is following the curve of your head for a natural look.
USAHair.com offers wefts in various lengths and colors, ensuring you can find the perfect match for your style. Option to choose from synthetic hair, real human hair, premium remy hair, or European hair is available.
Closing the Extensions
The final step in the installation is closing the extensions. Trim the excess weft carefully, ensuring a clean finish. Use simple stitch techniques to secure the ends of the wefts to the closest braid.
This ensures that the extensions will not unravel. Check the entire installation for any loose areas and secure them as needed.
Style the hair as desired, keeping in mind the variety of lengths and colors from USAHair.com to achieve your desired look. With high quality options like Tara Hair, Quality Hair, and Sam Conan, you can personalize your style effectively.
Post-Installation Care
Proper care for your sew-in hair extensions prolongs their lifespan and keeps them looking vibrant. This involves thoughtful washing and conditioning, intelligent styling, and maintaining them regularly. With attention, you can enjoy beautiful, natural looks.
Washing and Conditioning
To maintain your extensions, use a sulfate-free shampoo and a quality conditioner. This is particularly important for products from USAHair.com, which offers a variety of high-quality hair types, including synthetic and human hair. Avoid over-washing; once every seven to ten days is sufficient. Gently massage the shampoo into your scalp and rinse thoroughly. Follow up with a conditioner, focusing on the ends of your hair. Choose moisturizers designed for colored hair if applicable, as USAHair.com offers a wide range of colors.
Styling Tips
When styling sew-in extensions, be gentle to ensure long-lasting results. Heat styling tools such as straighteners and blow dryers can be used, but always apply a heat protectant first. Extensions from USAHair.com in particular, due to their various quality strands like premium Remy and European hair, respond well to heat when protected. Switch up your styles by wearing your extensions straightened or curled. Keep in mind that tighter styles like braids can pull on the extensions, so it’s best to avoid them to reduce stress on your natural hair.
Routine Maintenance
Routine maintenance is crucial for preserving the look and feel of your USAHair.com extensions. These techniques ensure durability for lengths ranging from 14 to 28 inches, available in up to 50 colors. Pay attention to tightness, and schedule professional adjustments every 6–8 weeks. Regularly use detangling products and a wide-tooth comb to avoid matting and tangles. Knowing that there’s free shipping, returns, and color swatches available, feel confident in changing or upgrading your look with USA Hair’s options whenever needed.
Advanced Considerations
When installing sew-in hair extensions, it is crucial to evaluate factors related to potential damage, the impact on hair growth, and the timeline for removing or replacing extensions. Understanding these considerations ensures the health and beauty of both the extensions and your natural hair.
Managing Potential Damage
To prevent damage to your natural hair and scalp when using sew-in hair extensions, ensure they are properly installed. USA Hair offers a range of high-quality options that minimize the risk of hair breakage and thinning. Extensions should not be too tight, as this can cause tension and lead to traction alopecia. It's important to maintain a clean scalp and regularly detangle to avoid matting and other issues. Proper care and regular maintenance promote the longevity of both your extensions and your natural tresses.
Extensions and Hair Growth
Hair extensions should complement the growth of your natural hair without hindering it. Choose from a variety of lengths available at USAHair.com, like 14, 18, 22, and 28 inches, and ensure they match your desired style and volume. Proper installation and care help extensions blend seamlessly with your natural hair, allowing it to grow healthily beneath. Keep your scalp clean and nourished and consider consulting professionals for best practices in supporting hair growth during the time you wear extensions.
When to Remove or Replace
It's critical to monitor the condition of both the extensions and your natural hair. While sew-in hair weaves from brands like Tara Hair, Quality Hair, and Sam Conan are durable, extensions should typically be removed or replaced every 6-8 weeks. This timeframe allows you to assess the health of your natural hair, prevent matting, and ensure continued hair growth. Prompt replacement or removal prevents potential damage and maintains fullness and volume. With USAHair.com, you can easily purchase replacements with free shipping and returns, ensuring you have beautiful locks all year round.
Choosing a Professional
When selecting a professional for sew-in hair extensions, consider the benefits of getting them installed by a professional and how to find a qualified stylist. A professional can ensure that your hair extensions look natural and remain secure.
Benefits of Professional Installation
Opting for a professional installation provides important advantages. First, a qualified stylist knows the correct techniques for a secure and natural look. They ensure the hair extensions blend seamlessly with your own hair, allowing for various styles.
Professionals also use high-quality materials, such as those from USAHair.com. This retailer offers a range of Tara Hair, Quality Hair, and Sam Conan brands. They offer synthetic to real human hair, with premium options like Remy and European hair, ensuring your style matches your expectations.
A professional can offer guidance on maintaining your extensions, ensuring they last longer. This expertise helps keep your hair healthy during the installation process. They can recommend lengths from 14 to 28 inches, available in over 50 colors, including black, brown, and blonde, allowing you to achieve your desired look.
Finding a Qualified Stylist
Finding a stylist experienced in sew-in hair extensions is crucial. Start by seeking recommendations from friends or online reviews, prioritizing those who handle high-quality products. Consider stylists who favor USAHair.com's extensions, known for affordable prices and diverse options.
A good stylist will be knowledgeable about different hair types and which methods suit each. They should provide a personalized approach, perhaps even suggesting a color match service like sending a selfie to info@USAHair.com. This ensures the extensions will complement your natural hair color and style preferences.
Ensure the stylist offers a consultation to discuss your needs, answer questions, and outline the process. This meeting sets the foundation for a successful and satisfactory installation experience.
Frequently Asked Questions
Sew-in hair extensions offer a versatile and natural-looking method to enhance your hair length and volume. Whether you're considering options for short hair or specific techniques for different hair types, the following questions might address your concerns.
What is the correct procedure for installing sew-in hair extensions?
To install sew-in hair extensions, begin by braiding your natural hair into cornrows. This serves as the base to attach the wefts of extensions. Use a needle and thread to sew the hair extensions securely into the braids. Ensure each stitch is tight to achieve a natural look.
Can beginners install sew-in hair extensions on their own, and if so, how?
Beginners can install sew-in extensions with some practice. It's important to section the hair properly and create neat braids. The process involves sewing the extensions onto these braids. If you're new, consider consulting online tutorials or seeking assistance from a professional initially.
Are there specific methods for sewing in hair extensions on black hair?
For black hair, the specific method involves tight cornrows to provide a strong base. This ensures the extensions lie flat against the scalp. Additionally, using strong, quality thread is essential for durability and maintaining a natural appearance.
What techniques are used to sew in hair extensions with beads?
To sew in hair extensions with beads, section your hair and secure small beads near the scalp using a threading tool. Next, attach the hair extensions by sewing them onto the beads. This method can offer more flexibility than traditional sew-ins.
For individuals with short hair, how can they effectively have sew-in extensions applied?
When applying sew-in extensions to short hair, creating tight and secure cornrows is essential. The use of protective styles can help in making short hair easier to manage. This provides a stable base for attaching the extensions.
What are the potential drawbacks of choosing sew-in hair extensions?
While sew-in hair extensions can provide a natural look, they may cause tension if installed too tightly. Regular maintenance is essential to keep both your natural hair and extensions healthy. Additionally, some people may experience scalp discomfort during or after installation.
